Off-Bottom Cage System Explorations and Experiments Part I
Build An Evolving Oyster Cage
Our off-bottom oyster cage system is ever changing. We build most of our gear with the idea of being ready to adapt it as necessity guides. Cage construction is the first element we consider, and the focus of Part I. We’ll be looking at rope, bridles, and leader lines in Part II.
We build upon what we learn; from others, our experimental fabrications, materials, and construction methods. We evaluate how well the gear works - in the water and on deck. We build improvements into new cages while keeping the old in service. We get about a year and a half to 18 months out of a cage. When something doesn’t work at all, though, we tend to nix it right away. Or, it motivates us to think faster of a better way.
The system we use now works very well. We raise our oysters in an off-bottom cage placed just above the water bottom. The cages are tethered to buoys that rest atop the water. Each cage unit flops off to the side when you haul it. We’re still tweaking, and I expect we’ll continue to do so as we move toward consistent practices and standardization.
We ghost-line our cages together underwater. We’re making our own gear and it’s really our own system. It’s a modification from different places, like the Chesapeake. We’re also looking at the size of boats in the Chesapeake, because if I can get more cages on board to process, then it’s even better.
Oyster Cage Must-Haves
Be A Profitable Size
Too small and there’s not enough oysters inside. Too big and it’s a hassle getting them on board the boat. Ours is a two-person, sometimes three-person, crew with different physical strengths. We tried a few cage variations before honing in on what works for us.
Easy To Locate Underwater
This mandates a decent bridle. Like many oyster farmers, we use a system of location that requires knots and rope. Chafing can be a problem, especially on the bridle and leader lines. If the rope frays and breaks, there go the cages. We’ll be covering this element in Part II.
Manageable On Deck
When filled with oysters, a cage is not the easiest thing to get on board your deck. We haul a cage, unbridle the package, cull each tier/tray for tumbling, sizing, or harvest. Then we package it up again and lower it back into the water. An unwieldy cage poses the risk of crew injury or boat damage.
Environmentally Friendly
We build with the finest marine quality materials on the market. This is by economic choice to protect our investment and the ecosystem.
A Stackable Oyster Cage For Deep Water
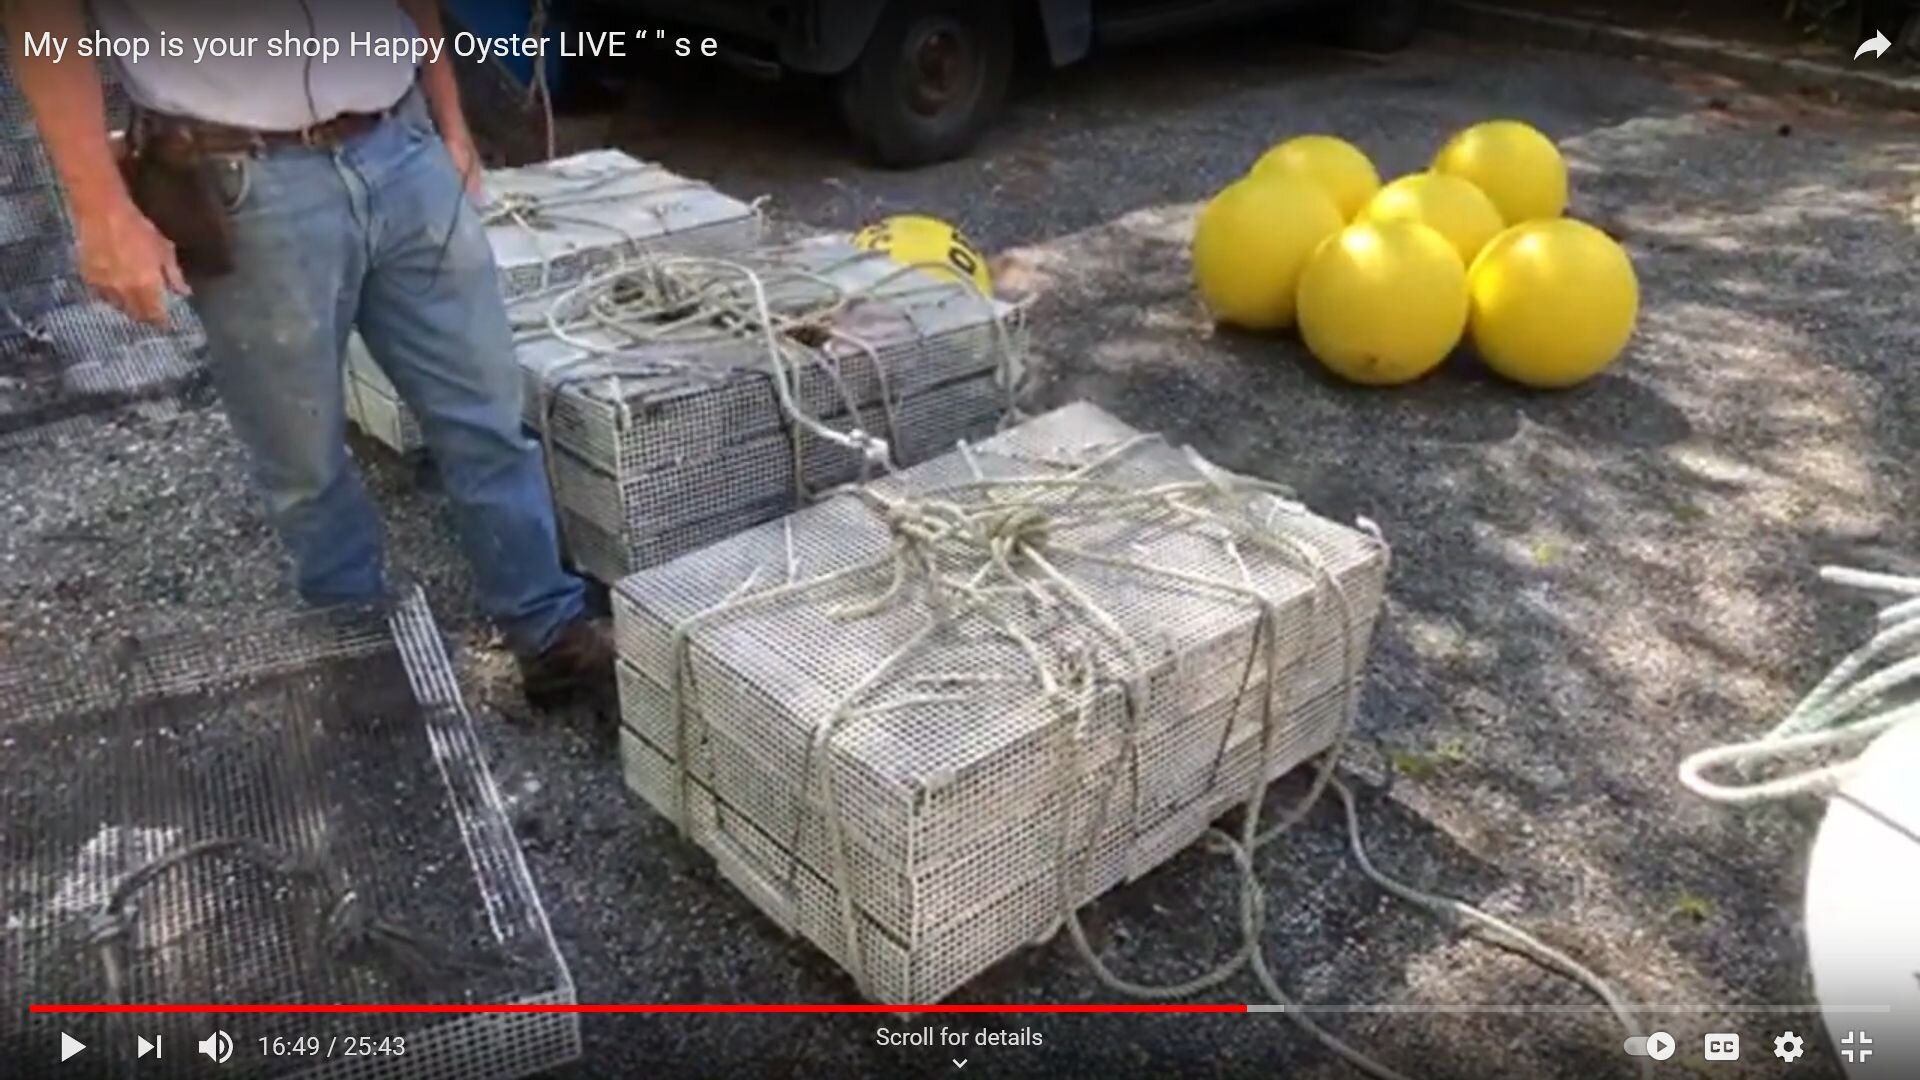
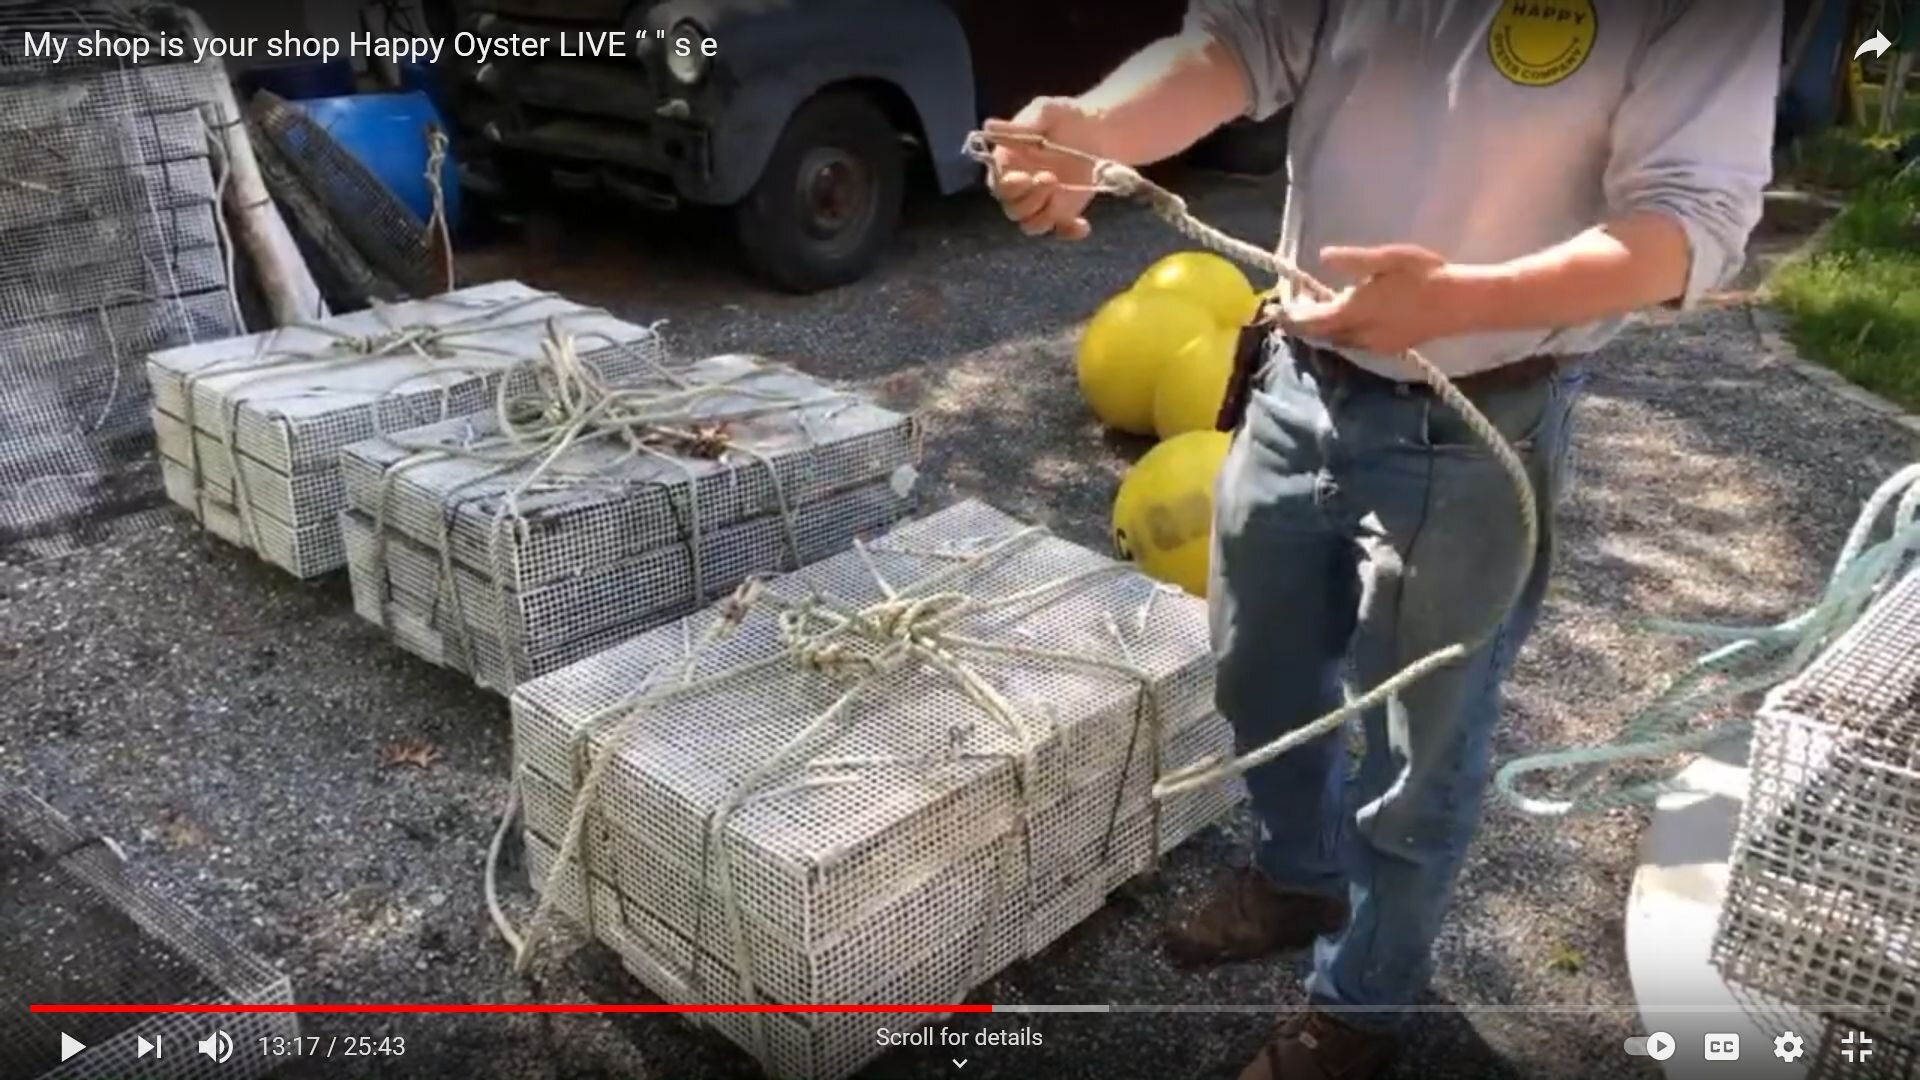
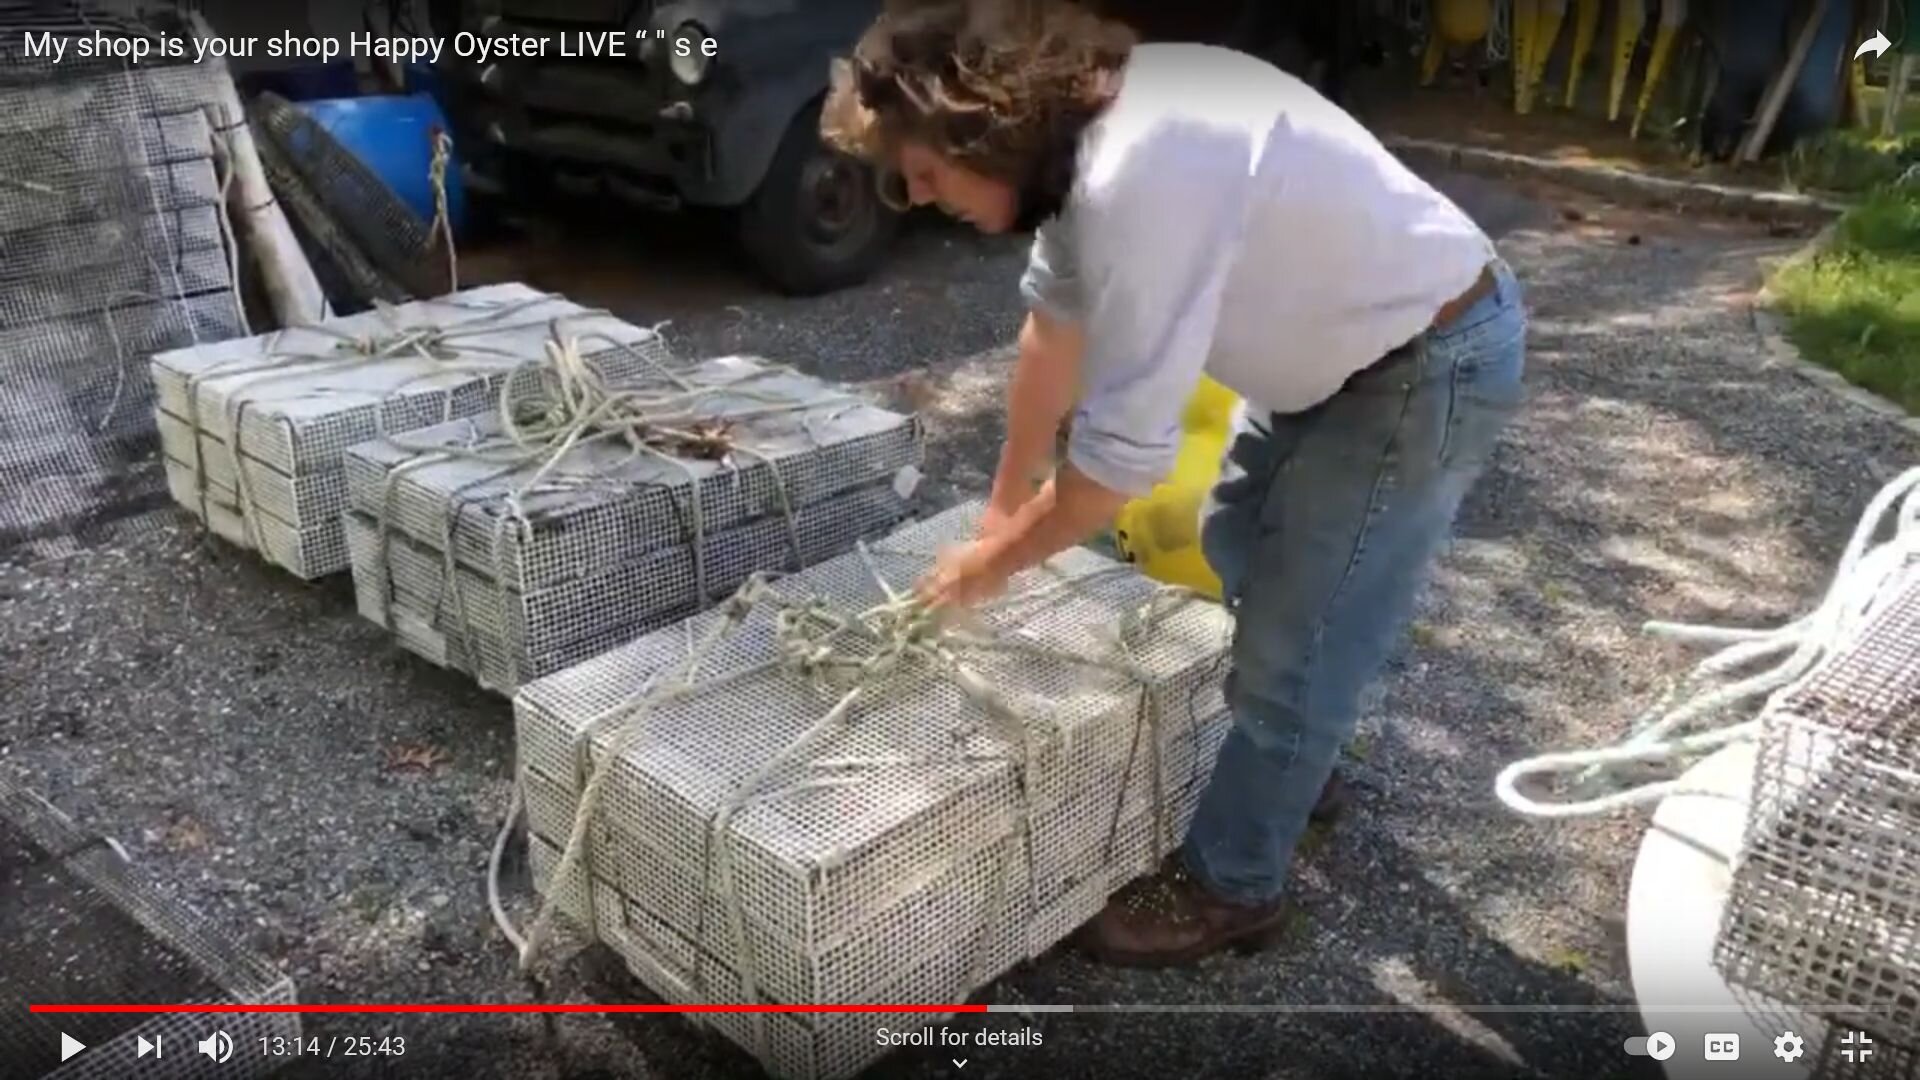
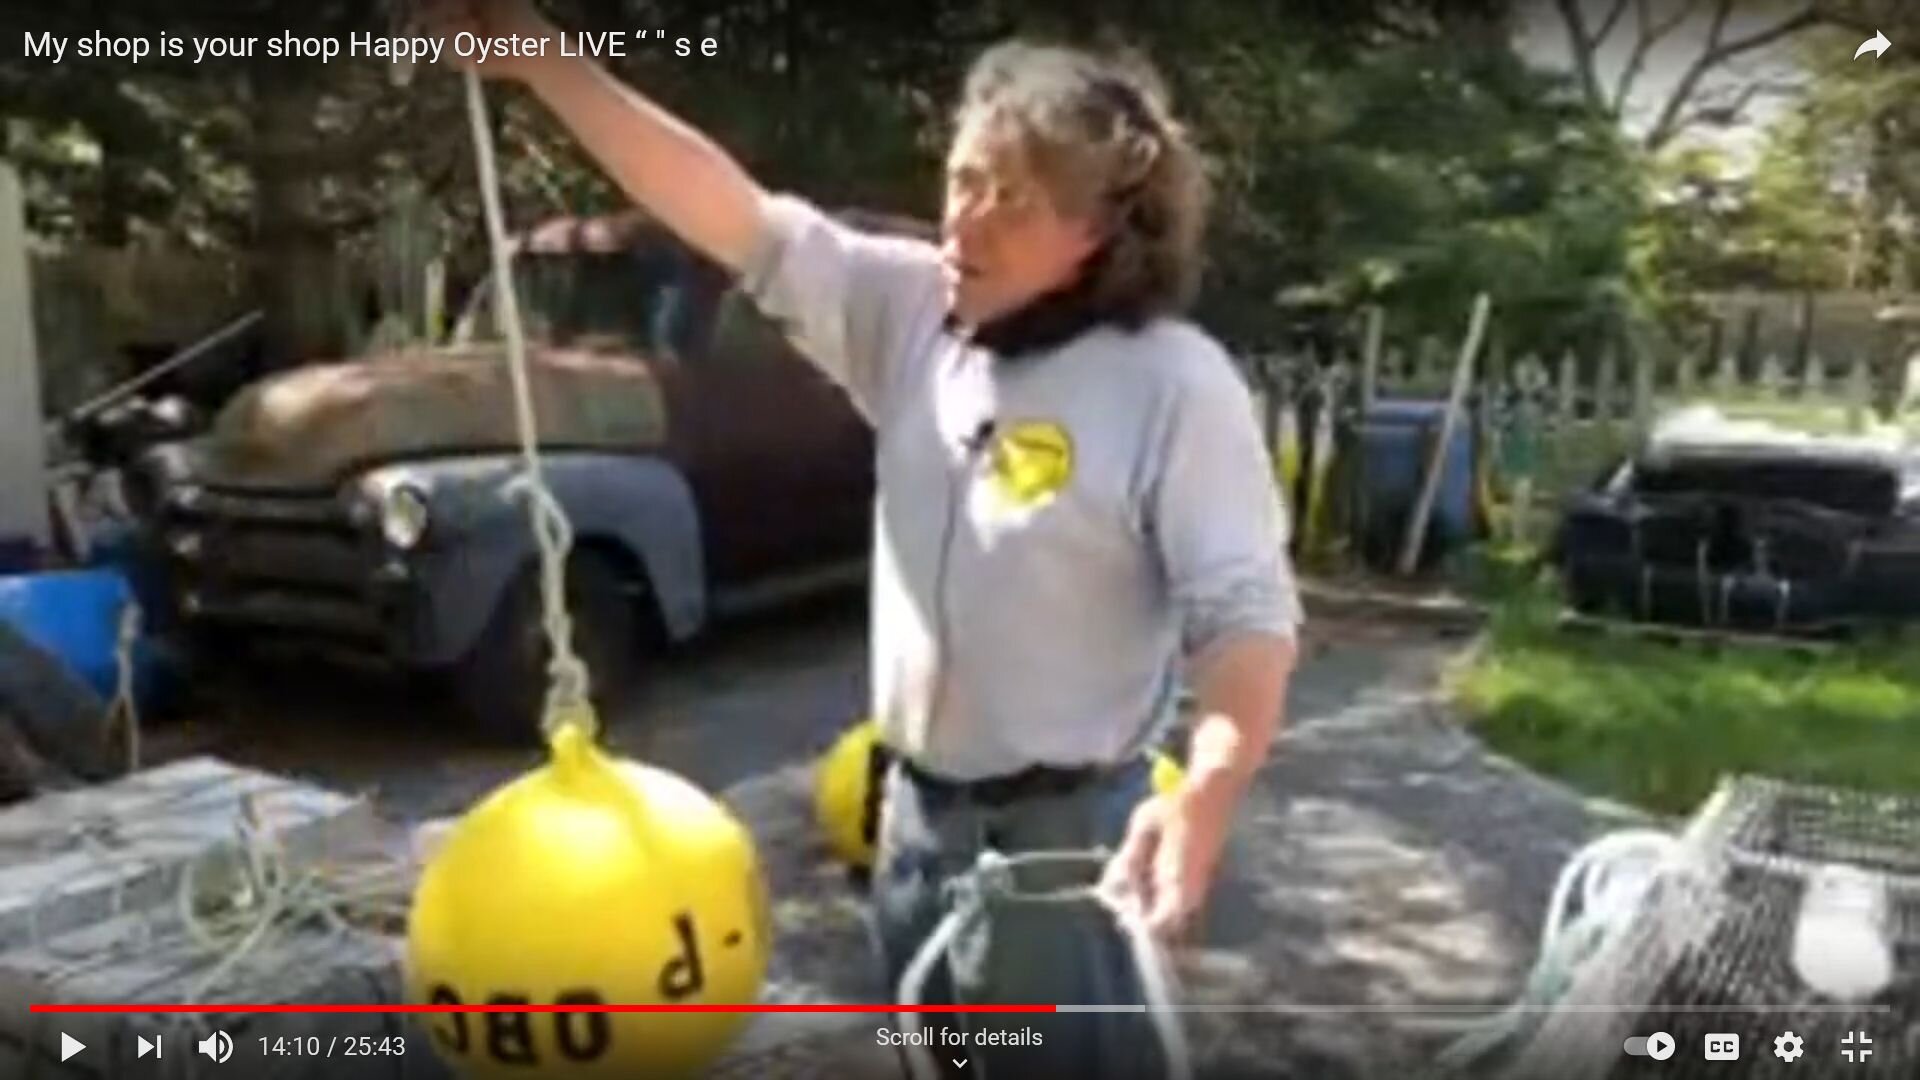
We started building cages a few years ago, while awaiting our permits, knowing we’d be making changes along the way. I call our current cage system the “Christmas Package,” which is what it looks like to me. The “package” is a bridle-wrapped unit of three separate tier/trays, attached with a 1/2-inch leader line to our floating buoys.
We’re in about 18 feet of water, which calls for a heavy duty and durable set-up. Stacking tiers into a single cage unit makes sense for deep water, where single tier cages cannot be laid out, as farmers do in shallow water where they can wade. I might be overkill on the rope size, but better safe than sorry.
HAPPY OYSTER Cage Features
Three single-wide tiers
Each tier (or tray) measures 2 feet by 3 feet
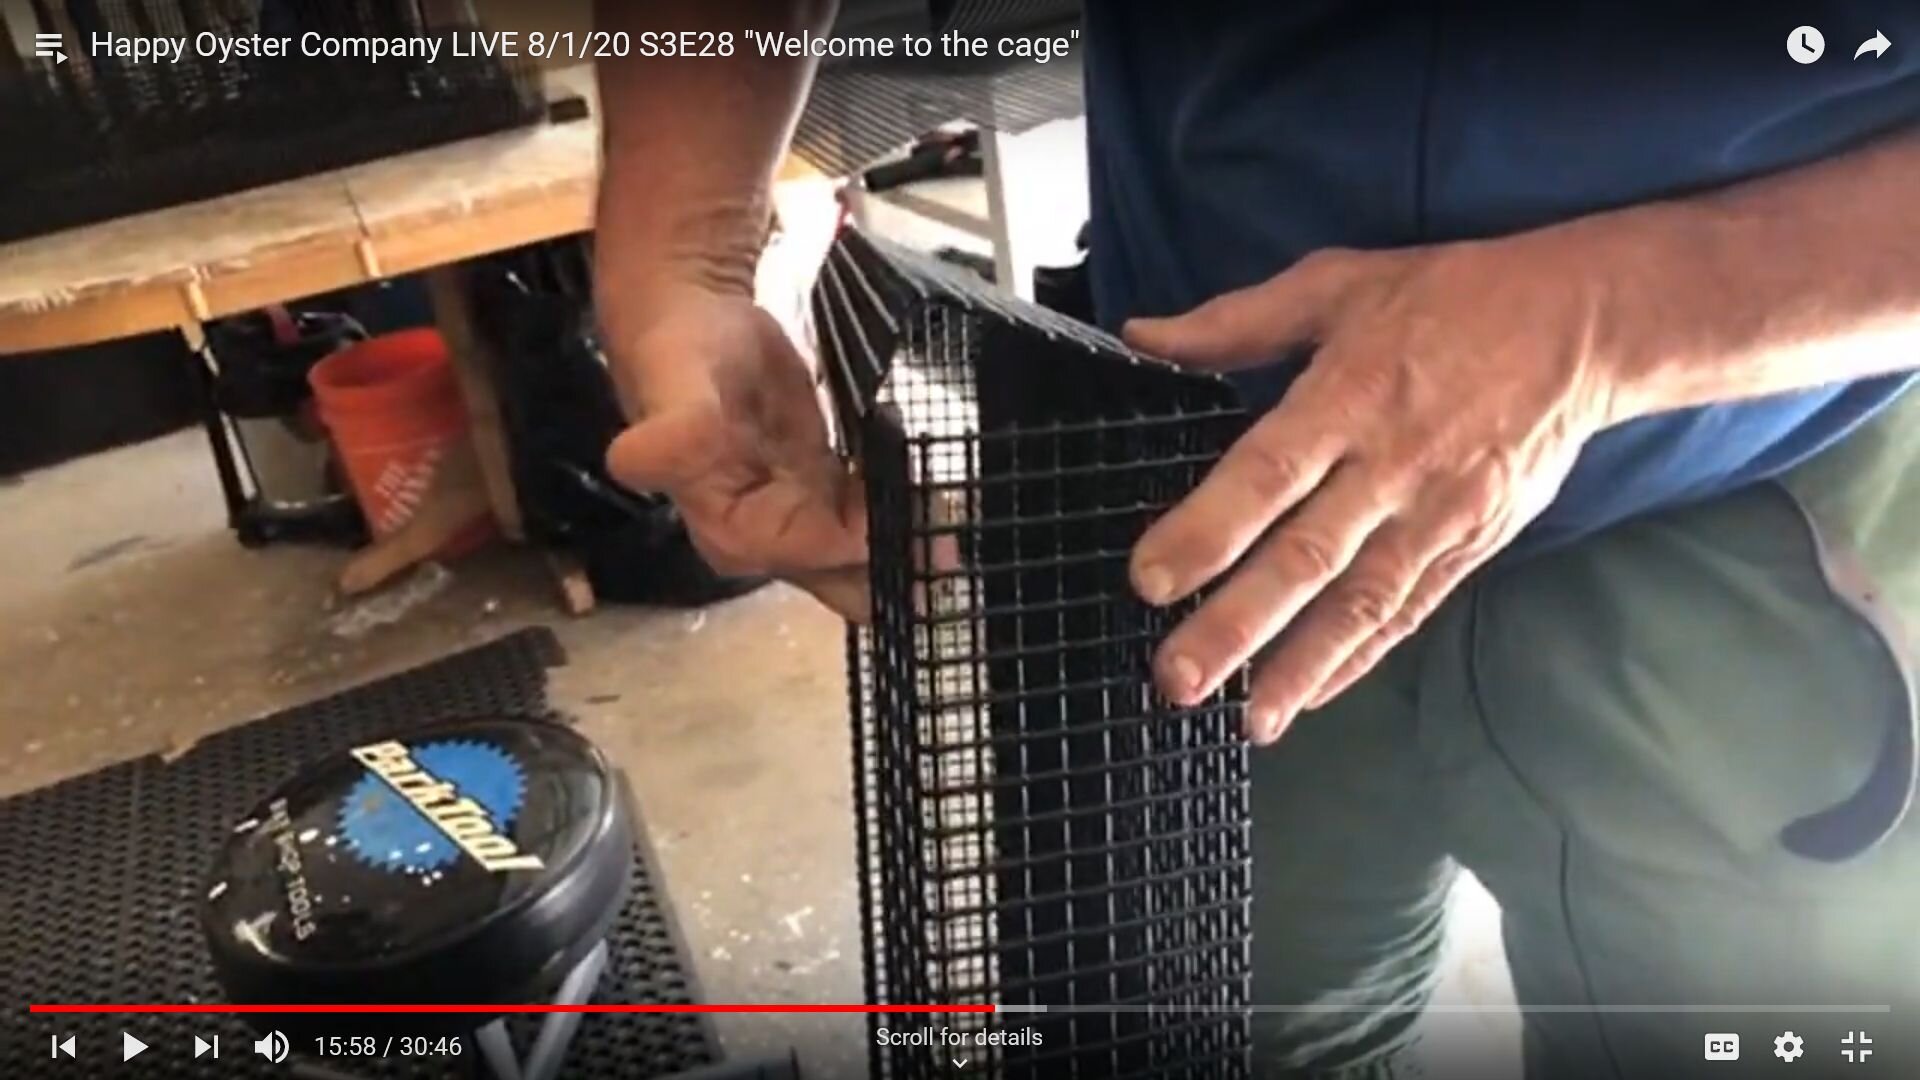
1/2-inch square, coated metal mesh construction
One cage consists of two open tier/trays topped with a tier/tray that closes with a lid
Riser-legs in the shape of a mesh v-brace secured to bottom tier
Latch clips secure all three tiers into a single, complete package
1/2-inch rope bridle wraps around the package with a leader line that clips to a floating buoy for identification and hauling
Additional anti-fouling coating, chosen for environmental safety
HAPPY OYSTER Cage System Benefits
Bridle-wrapped tri-rack cage is easier to haul and manage on deck
2’ x 3’ size means more cages on deck
1/2-inch square wire protects oysters without a mesh bag
Riser-legs keep oysters clean and the cages from sinking into the bottom
Tri-tier unit increases our density 33% over a two-tier unit
Anti-fouling coating reduces our workload - minimal need for power washing, etc. We get about a year and a half before we need to re-coat.
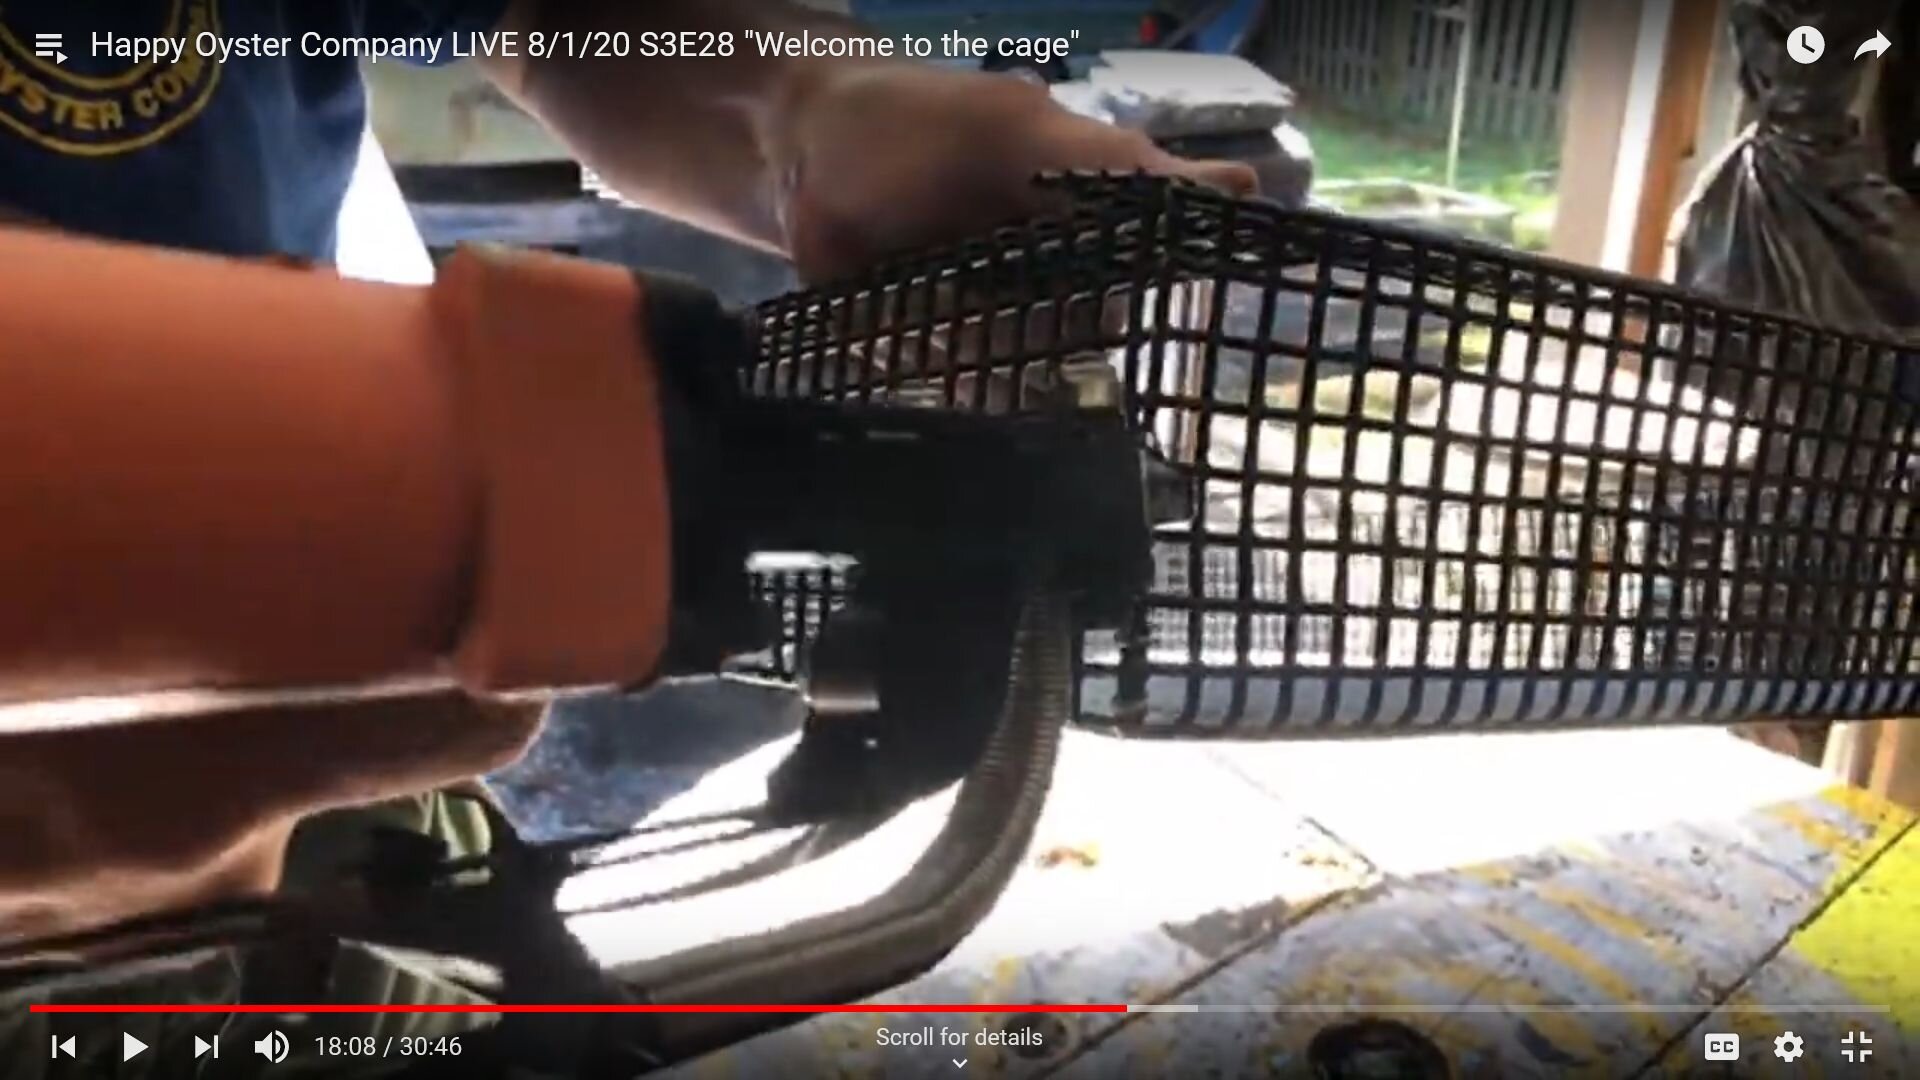
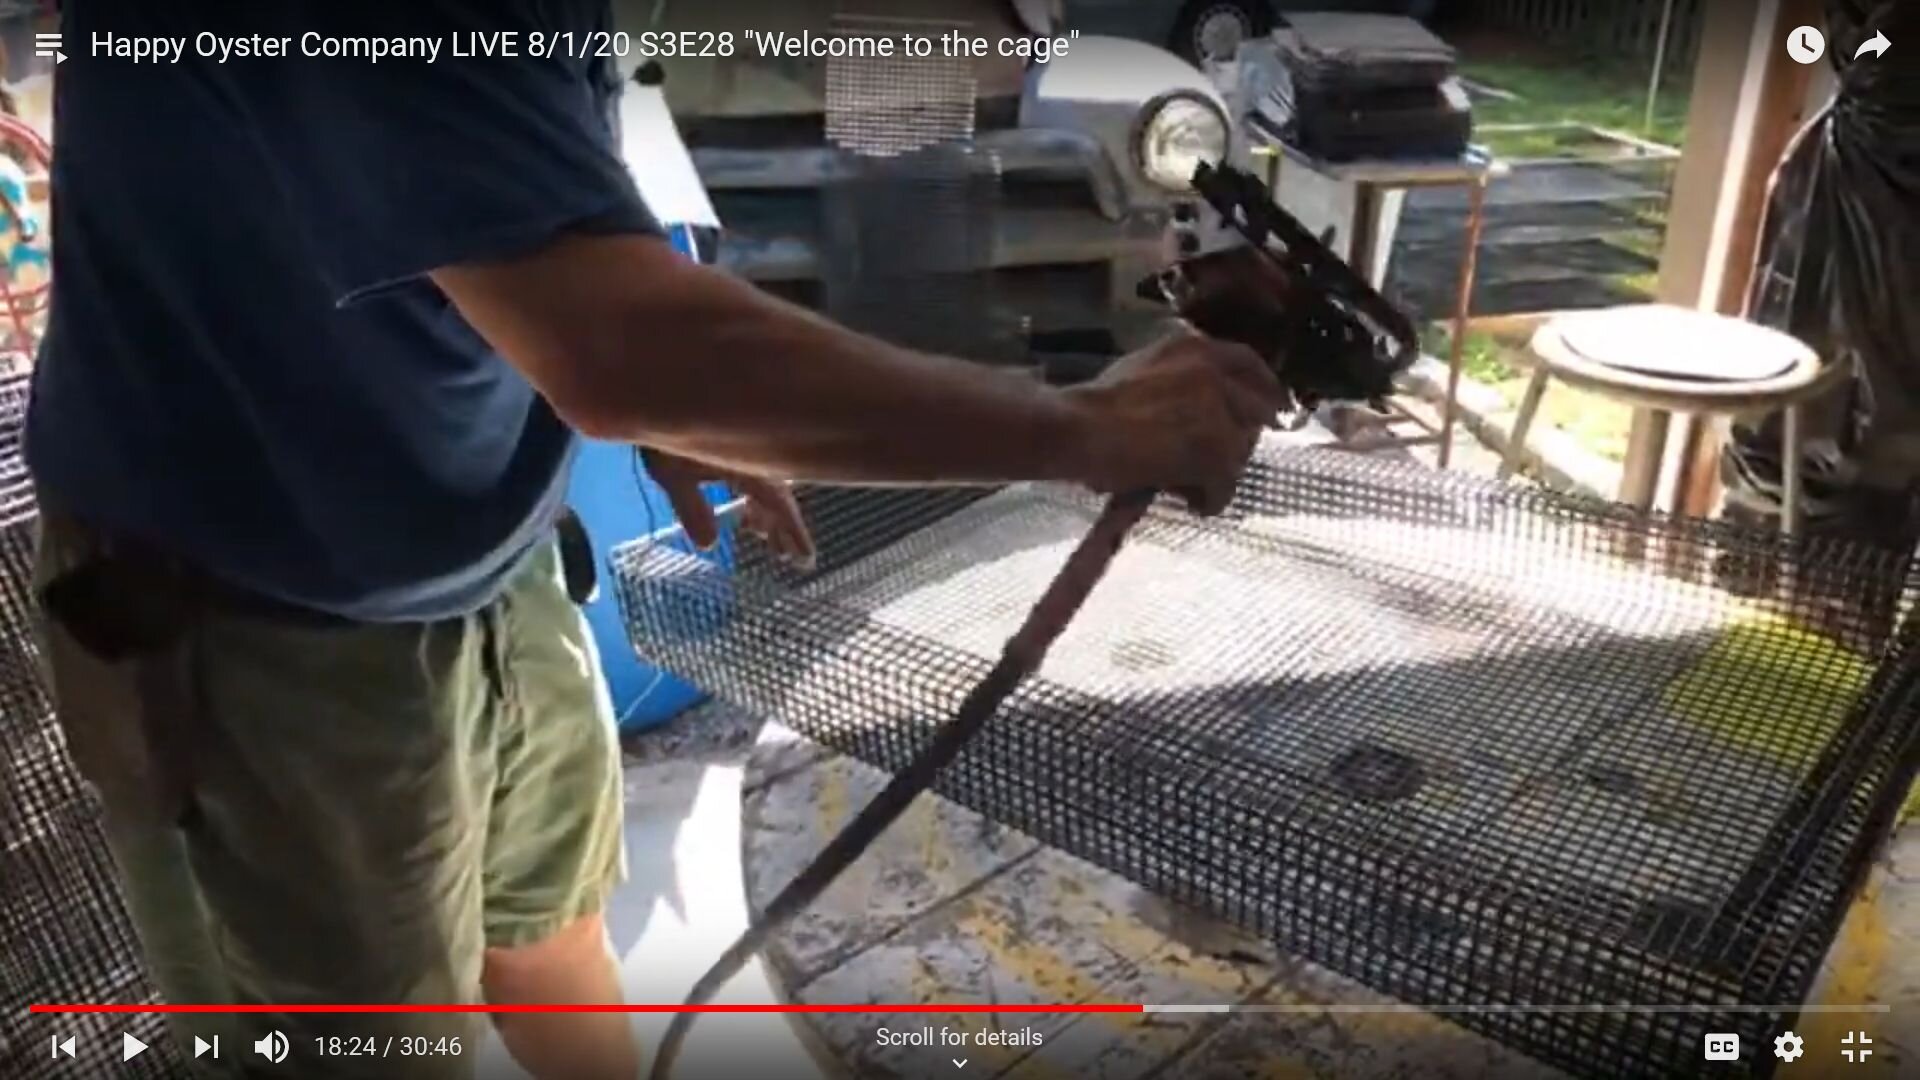
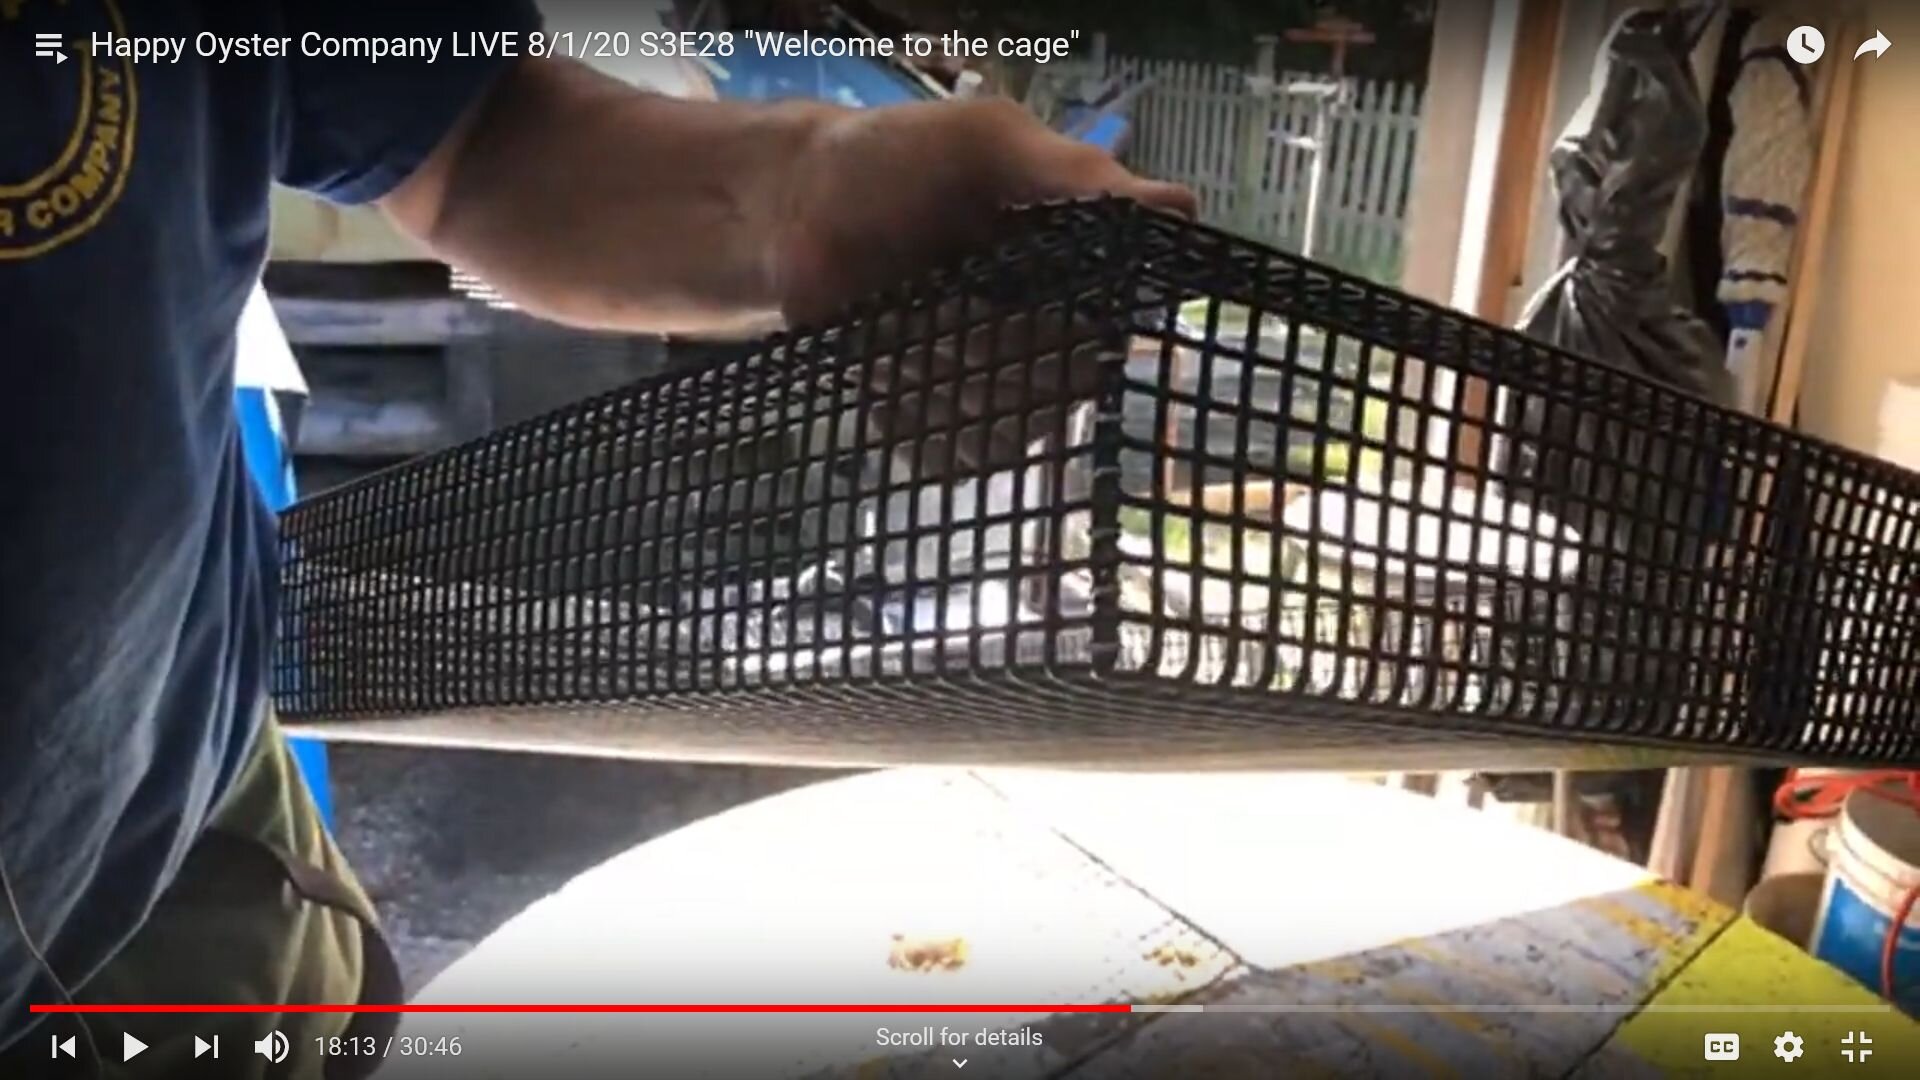
Below are several screen grabs from one of our LIVE shows on YouTube showing the cage system. You can watch the whole video here.
Basic Off-Bottom Oyster Cage Construction
Working with wire is trial and error. It’s not for the timid. It can be brutal on the hands. Making our gear is tough, yet cost effective. It also gives us a signature. We have the capabilities for benders, clippers, and hog ringing, so we can make all different kinds of shapes and sizes.
Our Stackable Cage Parts
Tiers - Three open trays
Lids - One lid closes the top tray. The bottom of the first and second trays serve as lids for the others in the stack.
Latch-Clips - Four (place one on each side of the stack and secure it with rubber cord).
Legs - Riser / legs rest on the water bottom, raising the cage about 6-8 inches (hence the term off-bottom.) We’ve tried foam pool noodles before going with the same coated mesh we use to build our cages. The riser/legs run the full length of the bottom tray.
Three Rules Of Production
Safety Takes No Holiday
You must be safe. If you’re not safe, you cannot do the job. So, safety is number one.
Accuracy Counts
You’ve got to do the job the way it’s expected to be done. If you want to modify it a little bit, fine. But you’ve got to go through the boss before you modify to make sure it’s really going to make a difference.
Speed Comes Last
Faster is good and I am open to suggestions. Accuracy is way before speed.
Materials
Our oysters are about 1 1/2 inches when they go into the open bay, so a half-inch square size mesh makes sense.
We use Aquamesh, a marine-quality 16-gauge, coated metal wire mesh made by Riverdale Mills in Northbridge, MA. We buy it in rolls, which gives us about 23 trays or tiers per roll.
We paint our cages with Netminder, a safe anti-fouler that cleans up with soap and water.
Stainless steel hog rings
Rubber cord for attaching latch-clips
1/2-inch rope for making bridles and leader lines
We get our rubber cord and rope from Ketcham Supply
Safety Common Sense & Personal Protection
Wear gloves
Follow proper procedures for sharp tools and equipment
Cage Construction Tasks
Cutting
We lay out the wire, sliding the sheet into place over the bar of our cutting section, down the shute, underneath the pneumatic cutter, and onto the layout table. Follow the line and cut to size.
Bending
The wire panel hooks into place via a wooden bender unit that I made. Bend the panel, turn it over, and do the other side. Now, the panel is bent on two sides. The third bend starts to straighten it out. I use a two-inch bend.
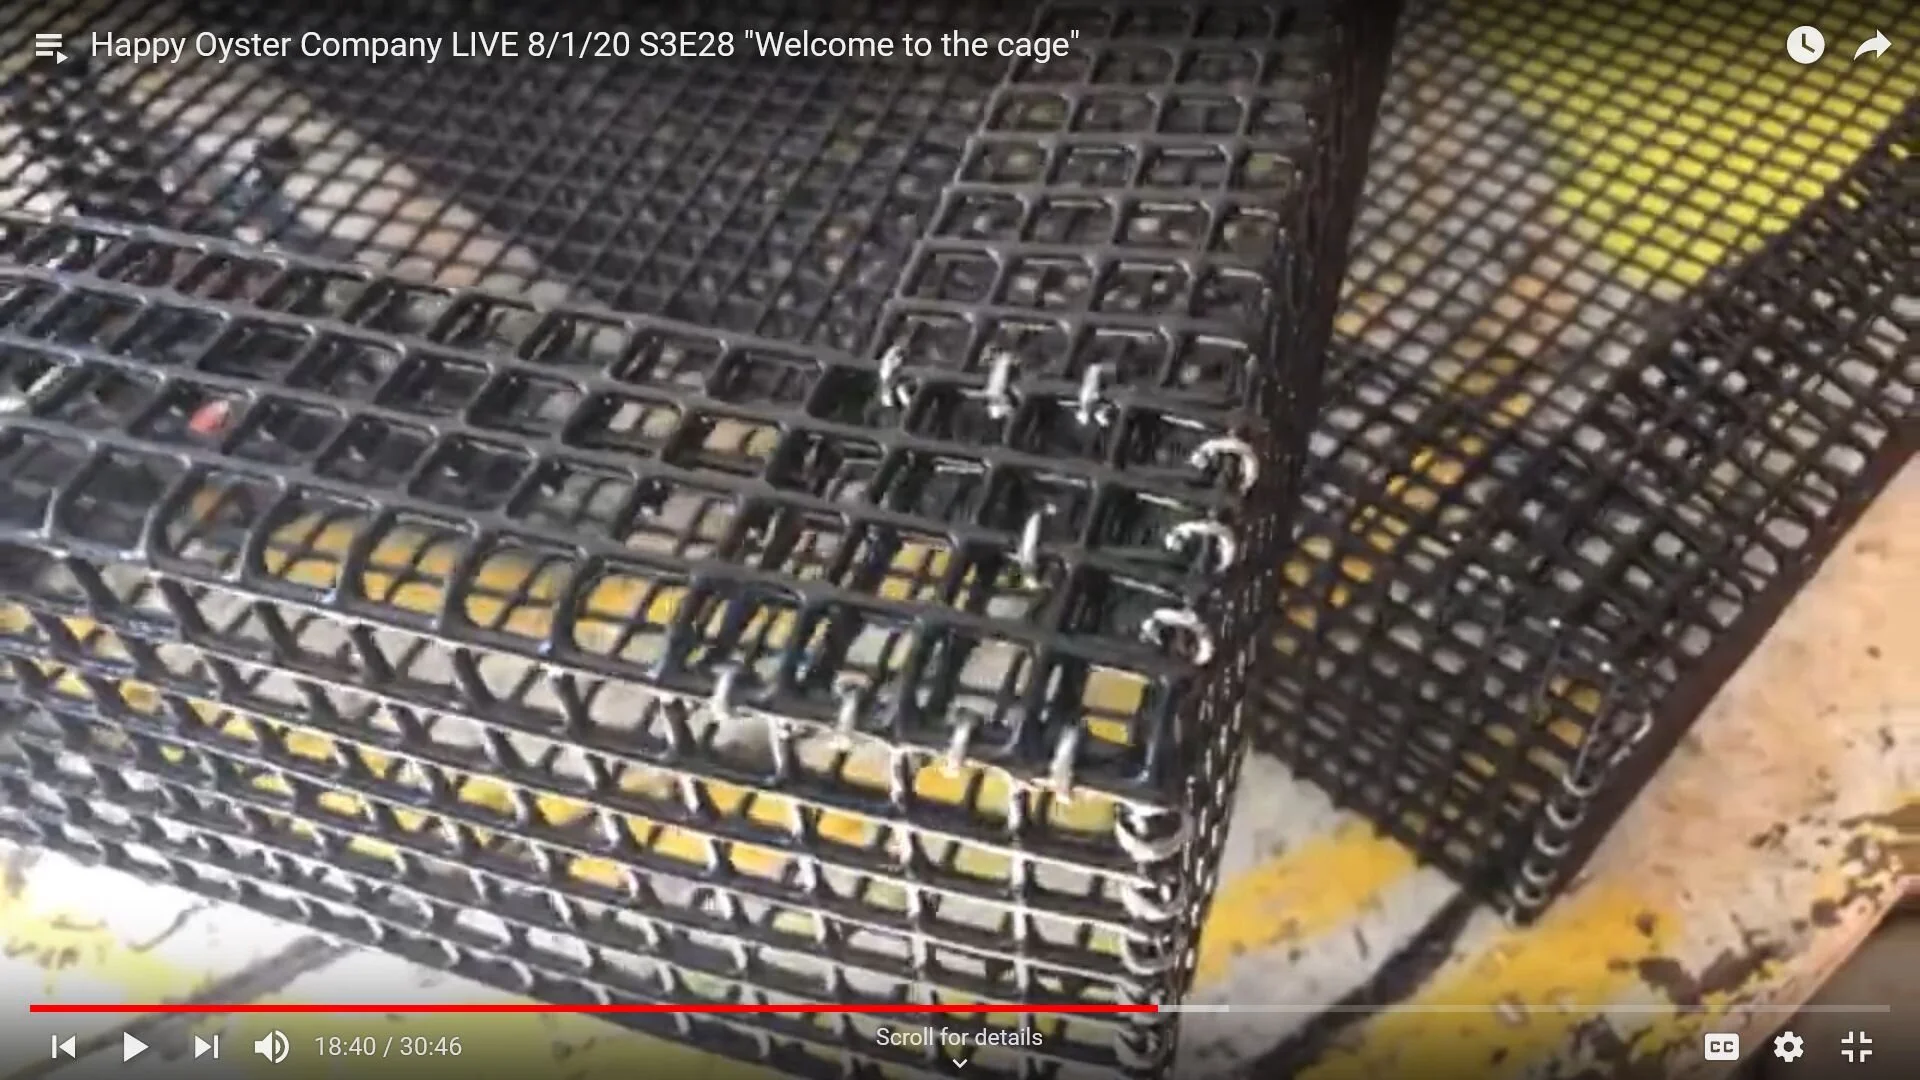
Pneumatic Hog Ring Gun
We secure all four corners with stainless steel hog rings. These screen grabs below are from S3E28 of our YouTube LIVE show.
The Spinning Table
This handy DIY work station is a Lazy Susan turntable for easy access to what I’m working on.

Screen grab of the spinning table holding a tri-tier cage with riser legs and bridle wrap, “The Christmas Package.” Watch the video here
Assemble The Parts
Start with the three trays. Add the riser/legs to the bottom tray, a lid to the top tray, and secure the trio into a single cage unit with latch clips and rubber cord.
Keep Building Cages
Make Parts Ready For Assembly
Once we figured out the design we liked, we began making cage components by themselves: trays, lids, legs, latch-clips, and so on. We’ve got a lot of cages working for us these days. We’re putting more oysters on board and the boat handles the weight well. Now, it’s logistics, design, and work flow; how are we going to process the product; how do we empty the cages or don’t, and speed.
Maintain Cages And Tinker Some More
We’re in our third year of cage-building, and re-coating some of our older cages with Netminder. I’d love to get rid of those latch-clips, which seem to be in the way most of the time. But it’s got to be simple. It’s got to be easy.
Resilience and Adaptability
In my experience, respecting change is a healthy way to accept reality as it is and not as I’d like it to be. An open mind and willingness to work with the flow helps us adapt. We move forward. And we don’t get mad. Not at ourselves or our employees. I set my goals like Ted Turner, so they’re unreachable. It’s progress rather than perfection.
I’m always open to ideas and ways of doing better. Any oyster farmers with any suggestions, by all means, do not hesitate to give me a call or shout it out @happyoystercompany
Cage Choices To Consider

Legs or No Legs
It depends on the conditions where you’re growing your oysters, or your scallops, mussles or clams, or whatever you’re putting in your cage. We have a sandy/cobble bottom (sedimentary stone,) so the pointed leg (riser, v-mesh) is perfect. The riser legs rest on the bay bottom, literally making this an off-bottom system. Occasionally, we get to where it might be a little muddy and sink in a bit. If that happens, we put wood slats across the bottom. Or, you can leave the bottom tier empty, but I hate to do that because it’s leaving real estate unused.
Mesh Size
We like the 1/2-inch because it suits the size of our young oysters when they go into the cage. Size is a matter of choice and depends on factors in your aquaculture methods and personal preference.
The Standard of Change
We try to keep production processes standard, in terms of safety, accuracy, and speed. We’re always looking for improvement, so there is some variations on all of our cages. Some are subtle, as we tweak toward better results. Standardization and adaptability work hand-in-hand. Both are critical, in my mind, when it comes to quality and doing the right thing.
Persistence Pays Off
One memorable early effort, the double-wide cage, turned out to be extremely heavy and unwieldy. We nixed it right away and went with the single wide. We tried a two-tier cage before going with the three-tier system we’re still using. We’re testing a new cylindrical cage design now, using a using a plastic five-gallon drum lid at either end. A lot of what we do with off-bottom cage systems is chronicled in our cage playlist on YouTube.
Mindful Repetition
Building my own cages gives me a chance to think. When I get into the mode, into the mood and the groove with the process, it’s kind of repetitive. I happen to like this type of work. Some people don’t. It gives me a lot of time to think and I start to plan and plot and do. Not only am I doing the operation that needs to be done, but I’m also accomplishing all of my thoughts and all of my stuff that I have to do.
Resources
HAPPY OYSTER COMPANY YouTube Channel / DIY Oyster Cages